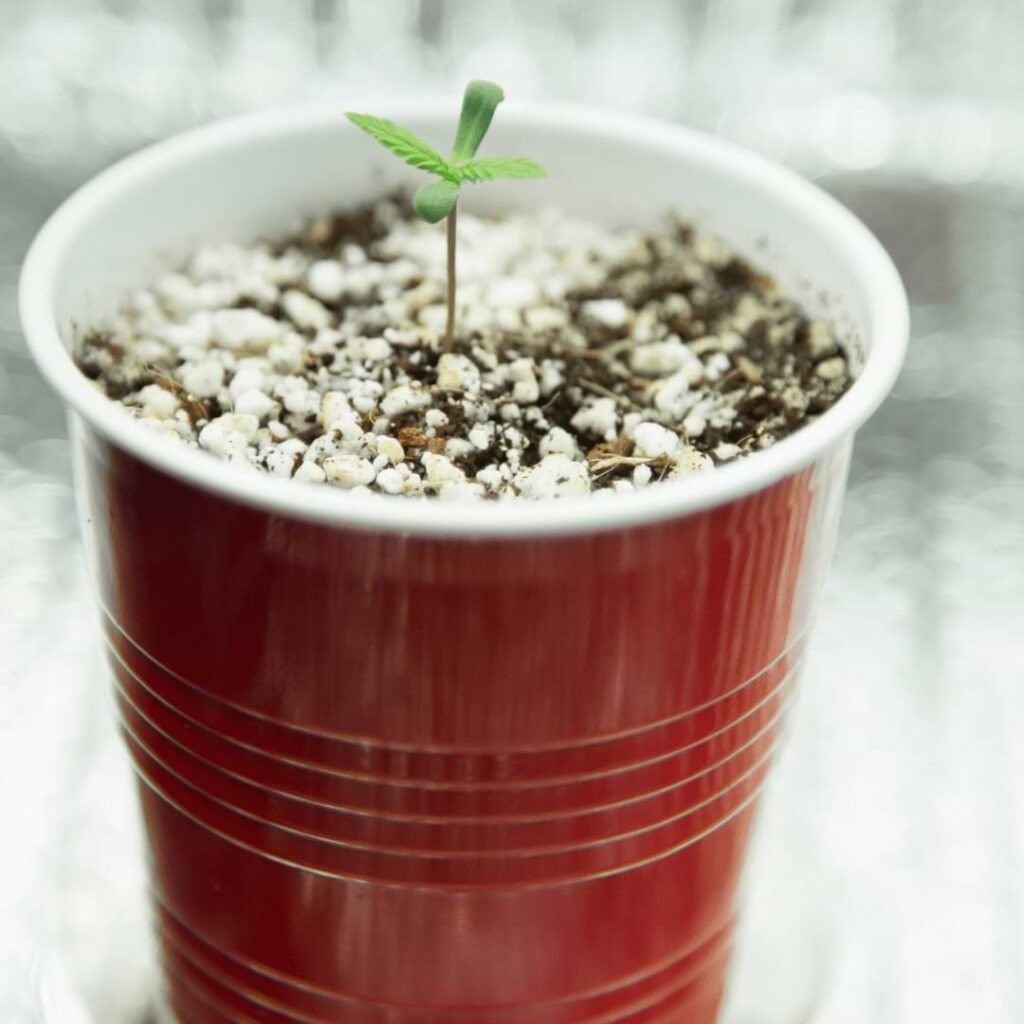
If you began growing your cannabis plants from a solo cup, you may wonder how to transplant them as they continue to grow taller. Transplanting seedlings is a simple process that involves knowing when and how to move them from one container to another.
When transplanting seedlings from solo cup, you can wait 8 to 12 days to move one plant into another container. There are also some signs to look for including leaves growing over the cup, and or roots coming out from the bottom.
In this guide, we are going to dive into the factors that tell us the right time to transplant seedlings from the solo cup and how to start transplanting them.

How To Tell When To Transplant Seedlings From Solo Cup?
There are some signs you should watch out for to give you insight on when to transplant seedlings from solo cup and one of the primary indicators is waiting 8 to 12 days.
Here are some other signs to watch out for:
1. Seedling roots: As your seedlings grow, their roots become more robust, filling up the space within the solo cup. You should notice the roots growing rapidly and soon can outgrow the cup. It’s a clear sign that your seedlings are ready for the next growth phase.
2. Leave Growing Tall: When you see leaves growing tall from the seedling or growing over the cup, it’s time to consider transplanting your seedlings.
These are a few signs you should watch out for to ensure your plants become transplanted appropriately.
Length Of Cannabis Seedlings Before Transplant
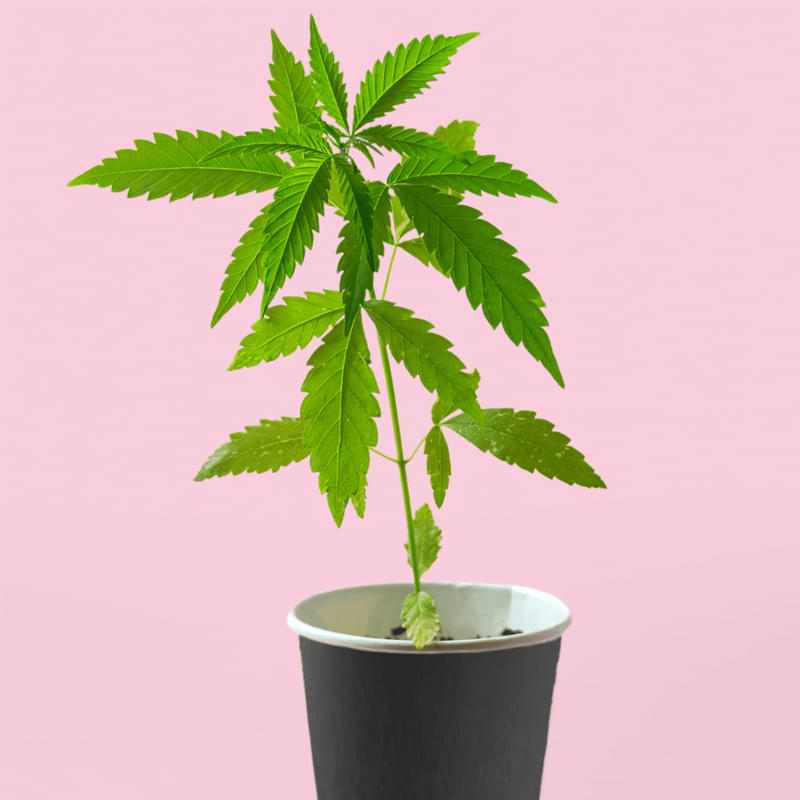
Your cannabis seedlings should be about 4 to 6 inches in height before you can transplant them into another container. It’s a general guideline to keep in mind when you’re growing cannabis in a solo cup.
When the seedlings are at a good height, their roots establish a good network system to maintain their growth. It provides insight into how strong they’ve become and are ready to survive the transplant.
How To Start Transplanting Seedlings From Solo Cup
There are steps you can follow to ensure you transplant your seedlings from a solo cup to a larger container.
Here’s a step-by-step guide to help you get started:
- Get A New Container: Make sure you have a larger container on hand to transplant the seedlings from the solo cup. Since the roots and plant height are growing, they need a larger place to spread out further.
- Moisten The Soil: The soil needs water until it’s moist enough for the plant to have a healthy home to grow.
- Gently Remove Seedlings: When removing seedlings, take them out from solo cup gently by squeezing the sides. Then turn the cup upside down and take it out carefully. Carefully loosen the soil in the solo cup by squeezing its sides. Turn the cup upside down while supporting the seedling, allowing it to slide out with minimal disturbance to its roots.
- Plant at The Right Depth: Dig a hole in the new container and place the seedling, ensuring it’s planted at the same depth as it was in the solo cup.
- Fill Container And Pat: Gently fill the space around the seedling with soil, pressing it down lightly to eliminate air pockets.
- Water Thoroughly: Give the newly transplanted seedling a thorough watering to help settle the soil and provide a welcoming environment for its continued growth.
When using these steps, you can successfully transplant your seedlings and have successful growth.
For more info on optimizing your cannabis grow space, check out, you can register for our free Ultimate Marijuana Home Growing webinar.
Subscribe to our newsletter to get updates about indoor and outdoor growing tips. New subscribers receive a free Quickstart Guide to Growing Marijuana Ebook and they can join our Weed Wisdom Facebook Community.


